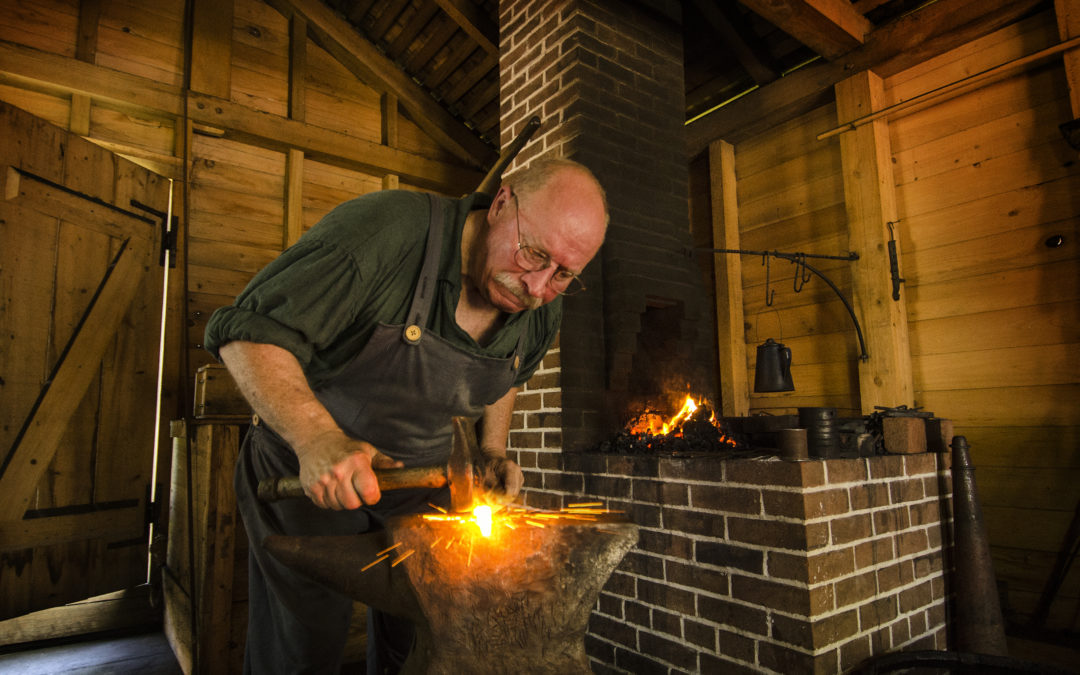
Many are aware that one of the treasures of the South is the Historic Arkansas Museum located in downtown Little Rock. As the resident historic blacksmith, I have a rare set of circumstances that allows me to work in a unique setting; an 1820-60’s recreated blacksmith shop. Besides welcoming the museum visitors, I train volunteers to assist me in museum related events. This has become a melting pot of unique and fascinating talents by Archaeologists, Electrical Engineers, Computer Programmers, Police Officers, Teachers, CPA’s and many others. Our regular visits allow us to study historic objects and give us the time, to either re-create or practice forging techniques required to make the re-creation possible.
In one of our recent gatherings it was suggested that I forge a push dagger in the fashion of my X-Rhea knives; that is, the forging of the complete object from one piece of steel. While I have little need for a push dagger myself, one of our regular attendees wanted to make one and so the challenge was presented. I accepted it, to help him work through the necessary forging steps while emphasizing the importance of avoiding tools or steps that would complicate the process.
I started with ¼ X 1-inch stock. Since the handle portion was likely to prove the most difficult, I thought it best to get that part shaped before deciding the blade length and cutting it off the parent bar. I wanted a loop that was about 3 inches in diameter and with enough material to remain sufficiently strong to support the knife’s function. I did not want the handle loop to be so thick that it felt heavy or looked over built.
In the photographs notice the level of heat used in the operation. It’s important to keep the work piece at a higher end of the heat range to move properly and to not tear. I used a hot cutter to slit the bar starting 5/8 from the end of the bar and slitting for 1-1/2 inches (see photos 1 & 2).
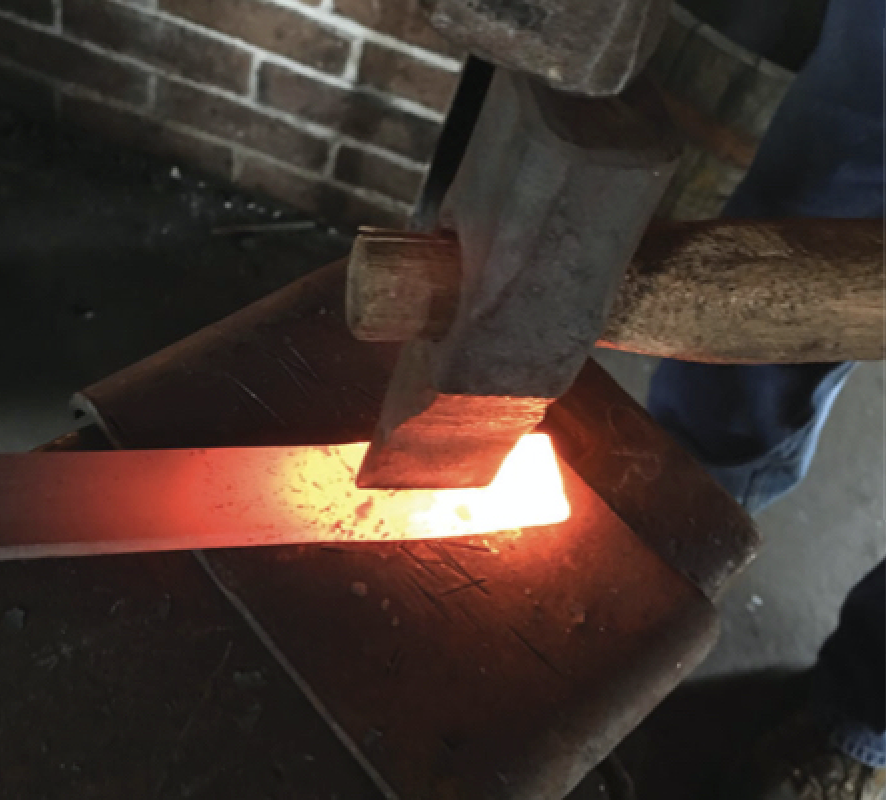
Photo 1
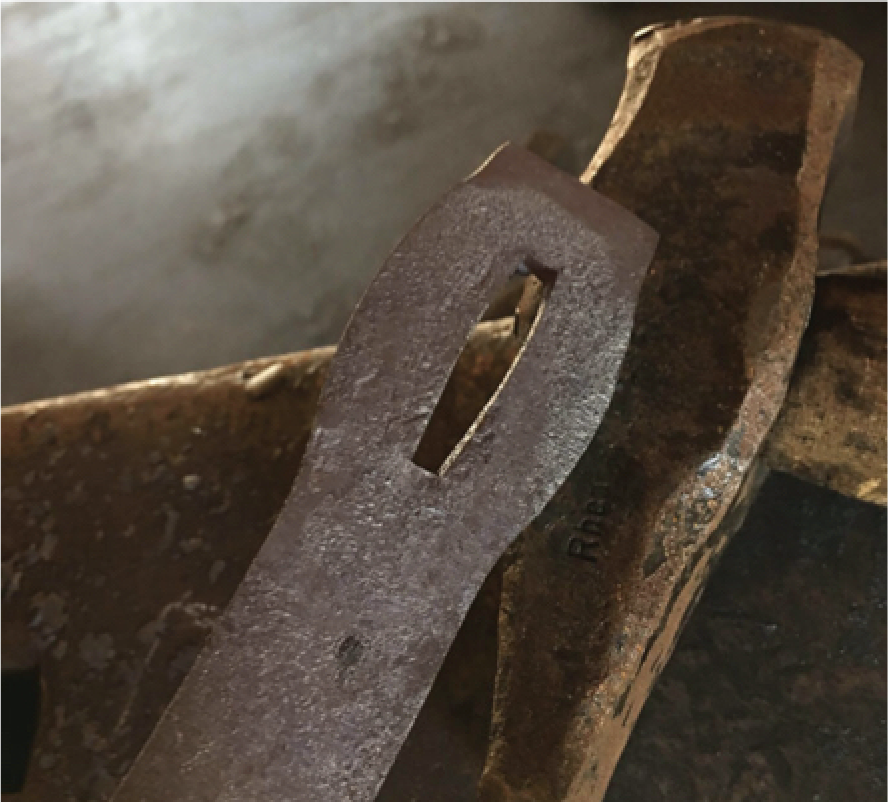
Photo 2
After the slit is cut, I strike the bar on the slit end to upset it and create a gap big enough to insert a drift. (See photo 3)
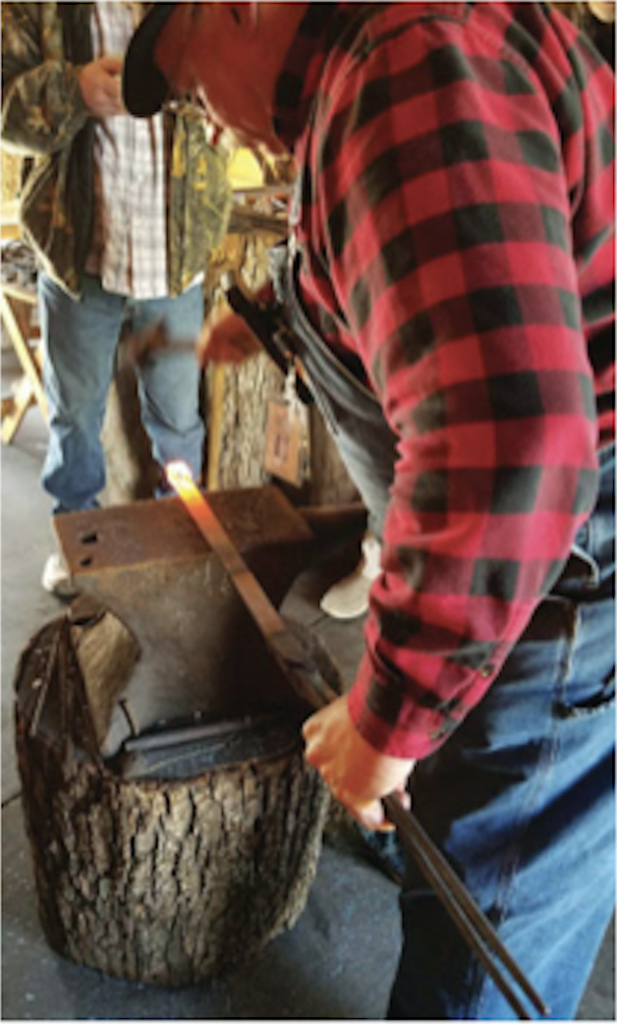
Photo 3
Next, I drift the hole to a size that will fit over the tip of the anvil horn. (See photo 4)
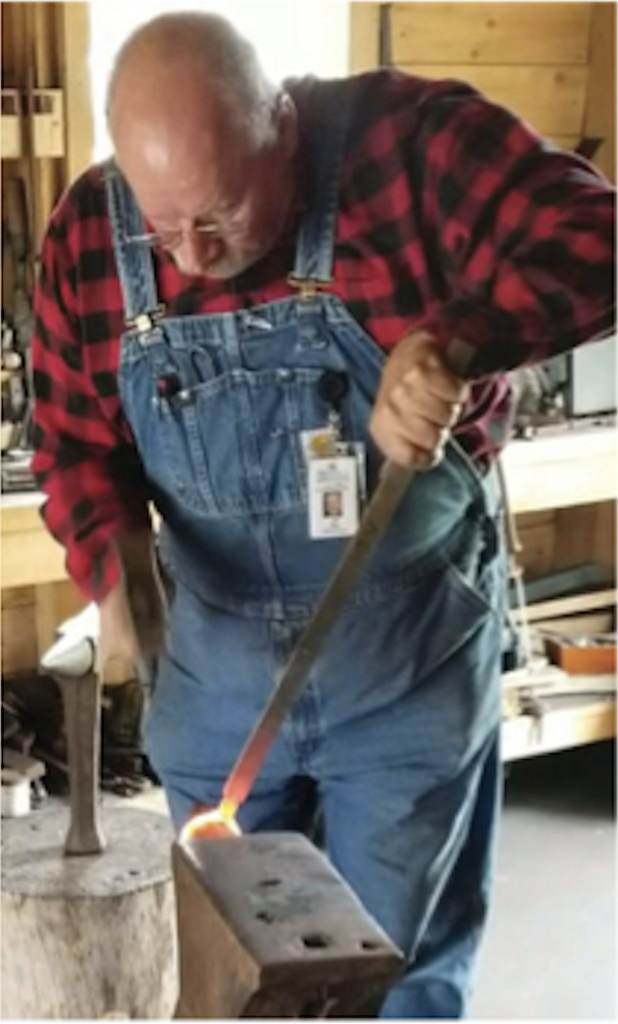
Photo 4
Then, I heat the piece yellow hot and place the loop over the horn, striking the loop’s edge (Shown in photo 8), tracking the successive blows around the ring to the middle then reheat and switch sides. Switching does two things; It is lengthening the loop and at the same time, it is changing the cross section, widening the handle band. Switching sides provides fair use of heat in order to stay even and balanced. Keep the heat in the yellow range. It will probably take multiple heats. You will have to alternate between the horn and the anvil face to keep it all straight and in alignment. It’s important to try to make any corrections as you go along. The first time around the horn, it will look like a ring on the bar. Notice that the bar corners are driven in and are included in the ring. (See photo 5)
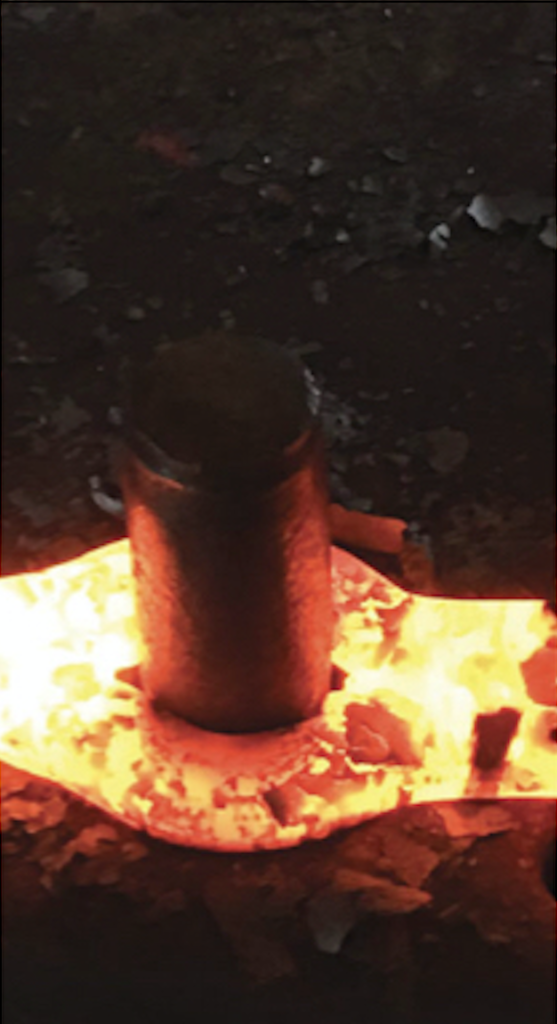
Photo 5
Next, it’s time to step in the area that we normally would call the ricasso. The ring still retains enough mass at this point to withstand the high yellow heats required to step the ricasso inward. I use a pair of ¾ inch square bars (Round can be used). One is on the anvil and one is hand held. An assistant is helpful but a hold fast can be used if you are working alone. (See photo 6)

Photo 6
Stepping it in like this allows you to have adjustability in the ricasso length and the shape and degree of the curves. It’s a matter of taste and the way it feels in the hand.
Now we’re ready to forge the ring out to full size. I have a mark on the anvil horn to check to see if the diameter is consistent. Of course, this mark will only apply as long as the material size and measurements are consistent. When the ring is right, I cut the piece off the bar. (See photos 7, 8, & 9)

Photo 7
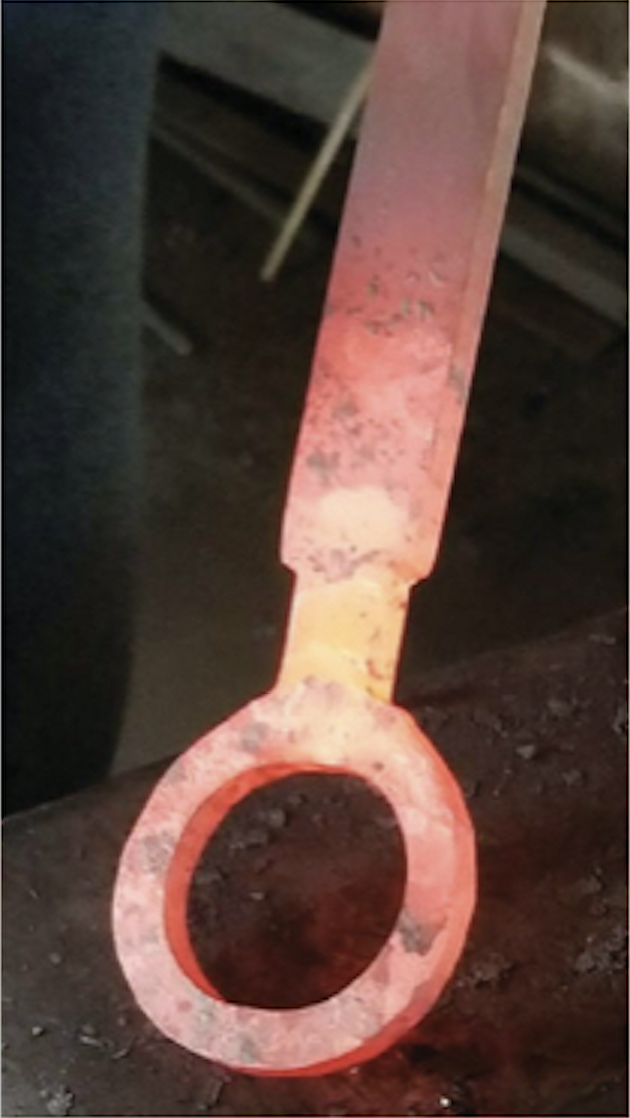
Photo 8
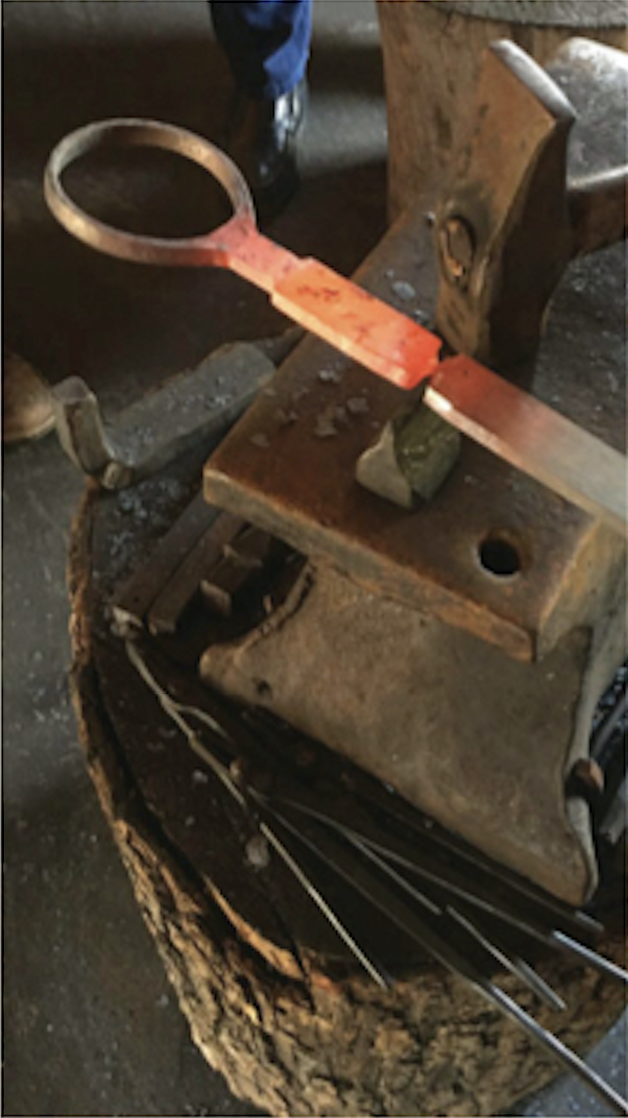
Photo 9
I push the ring over to the side enough to grip the ricasso with tongs and forge the blade profile and the bevels. (See photo 10)
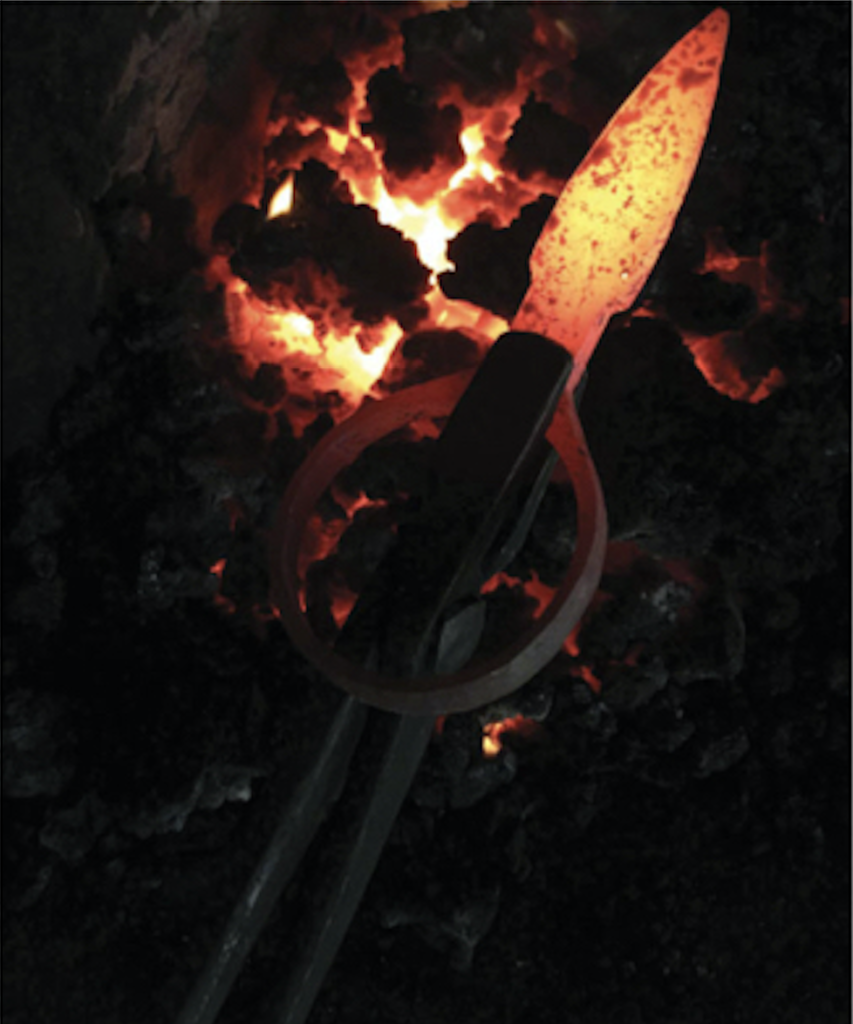
Photo 10
After the blade bevels are forged, swing the handle back into alignment, get it evenly heated to orange, and start shaping the handle. It’s important to have a good purchase on the blade to provide the necessary leverage for this whether you are using tongs or the vise. (See photo 11)
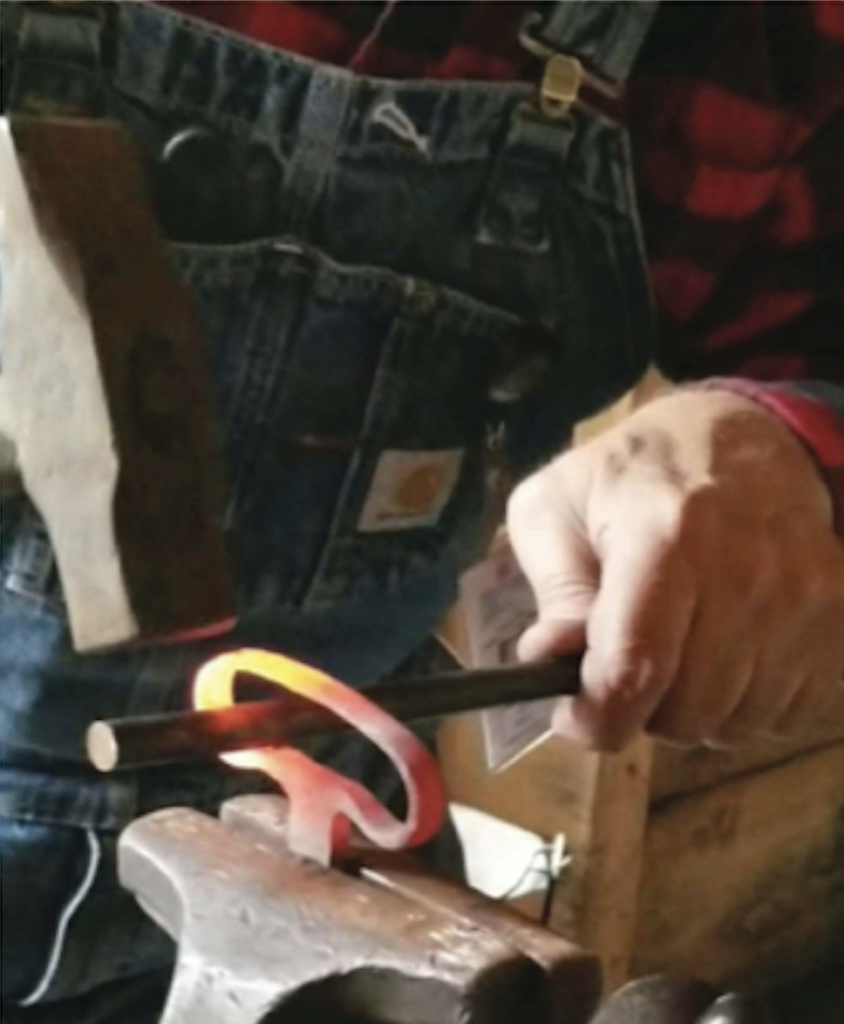
Photo 11
Along with careful hammering, I use a piece of round stock to reach through the handle loop and bump it into shape as necessary. Again, this is subject to taste. Just keep it hot and take your time. The square bars (my choice instead of round) used in stepping in the ricasso left extra mass which supports this operation and can later be shaped by filing or grinding.
Here is a finished forging and a pre-form together for comparison. (See photo 12)
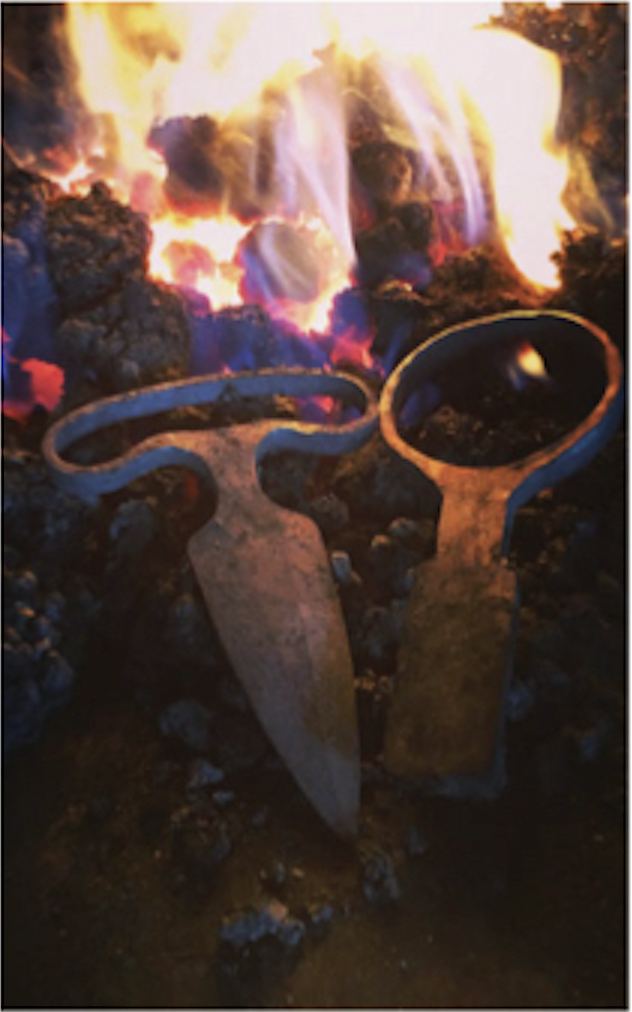
Photo 12
And here is an example of the one-piece forged push dagger finished. (See photo 13)
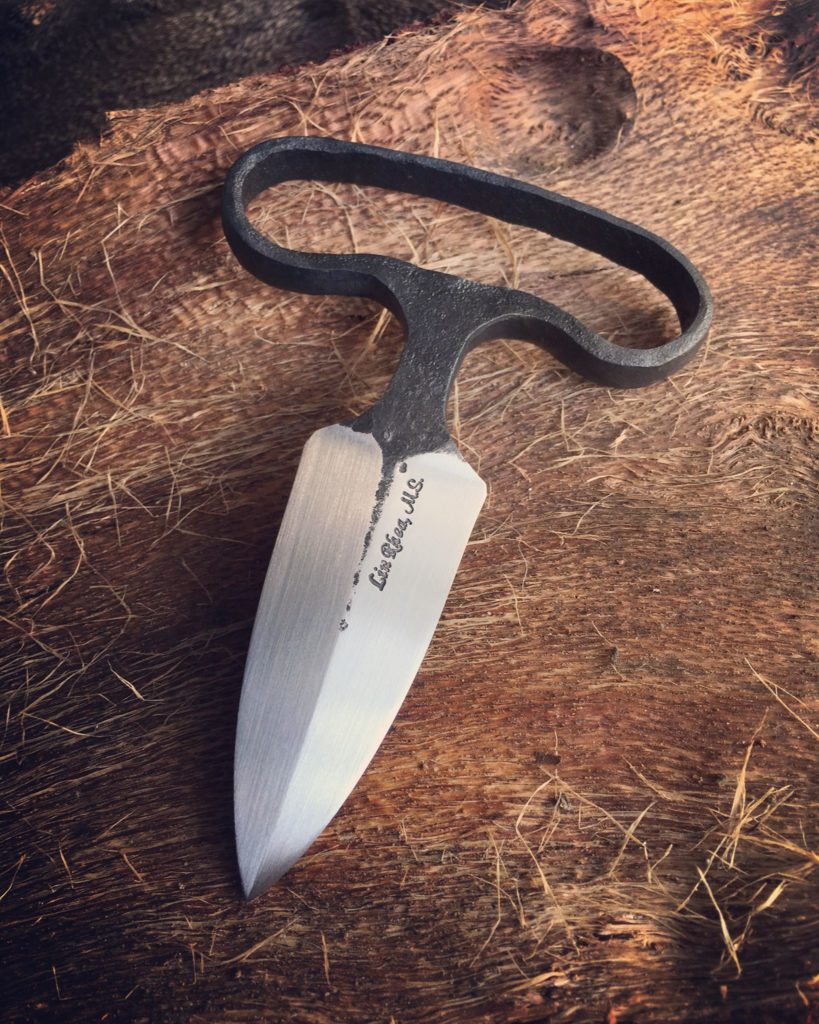
Photo 13
The tools I used in the forging of this push dagger are available to most of us. The anvil, hammer, a vise, and a few bars of steel that might be around the shop already. This approach stresses the practicality that was the guide of the early blacksmiths.
I understand that some might find the idea of forging a knife from one piece of steel as extremely limiting and may wonder why I set such limits upon myself. Try to understand that the whole idea sprang from the unfortunate possibility where, in a survival situation, the only resources the maker possesses are some steel, a fire, and his/her skills.
That was a challenge I set for myself and whether or not the result suits everyone’s taste, it is something that has made me a better bladesmith. While not all of my knives are this simple, the simple ones allow me to exercise hammer skills, material management, and eye development.
Then when I’m working on a more complicated knife project, I will be better prepared and have the confidence it takes to tackle it. I encourage all who are bladesmiths to challenge themselves to incorporate some simple forging projects into their regular routine. The relatively short process and repetition will assure plenty of practice at the anvil.
Recent Comments